
One of the important elements necessary to ensure stable operation of mining farms isuse of a reliable, fast and easy-to-manage operating system.
Has deserved popularity among minersHive OS- operating system of the Linux family based onUbuntu distribution optimized for cryptocurrency mining. Linux miner hive OS is both a set of programs and a service for monitoring your rigs. This review describes what Hive OS is, how to install, configure and use it for mining.
The long-awaited release of Hive OS 2 has been released.0, and this means that it is time to consider in detail a new, convenient system interface. Everything has changed, not just visually, but also the functional part has undergone great changes. Added many useful features that simplify the work of ordinary users with the system.
How to write Hive OS 2.0 for mining on a USB flash drive?
You can download the system image on the developers’ website at https://hiveos.farm/, where you need to follow the linkInstalland select the desired distribution.
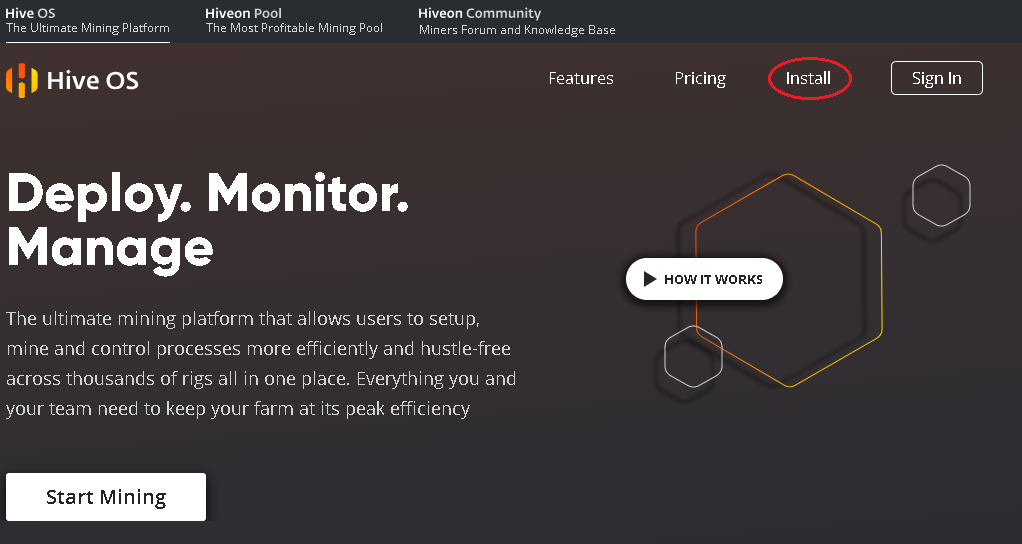
There are currently two current versions of this system:
- Bleeding edge— the latest version, which may contain bugs;
- Stable- stable and reliable version.
You can download both distributions from the official website directly as an archive or via torrent. To record the distribution you need to useUSB flash drive with a capacity of at least 8 gigabytesgigabyte or ssd drive.
The second option is preferable, the flash drive after hive os wears out pretty quickly, and the removable drive works faster. You must unzip and burn hive os to a storage device.
Installing high OS on a hard drive is possible, but the system can perfectly work directly from a USB flash drive or ssd-drive, provided that the device has a sufficient level of performance.
When creating an image in Windows OS, you will need a programEtcher, which can be downloaded from etcher.io.It is a very user-friendly open source program that comes in versions for Windows 32/64, macOS and Linux. It ensures guaranteed recording quality and no failures due to read errors in subsequent work. Instead, you can use HDD Raw Copy Tool, Win32 Disk Imager, Rufus or similar utilities.
In the Etcher image burning utility, select the system image unzipped after downloading, check the recording path and click the buttonFlash. It is necessary to understand that all information that is onUSB fash,will be destroyed.
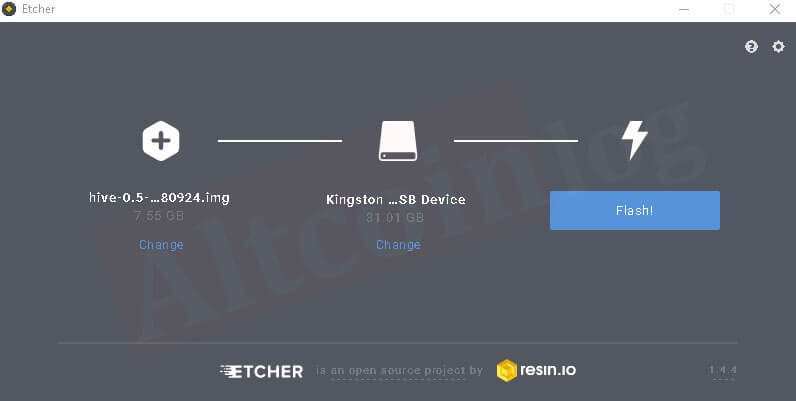
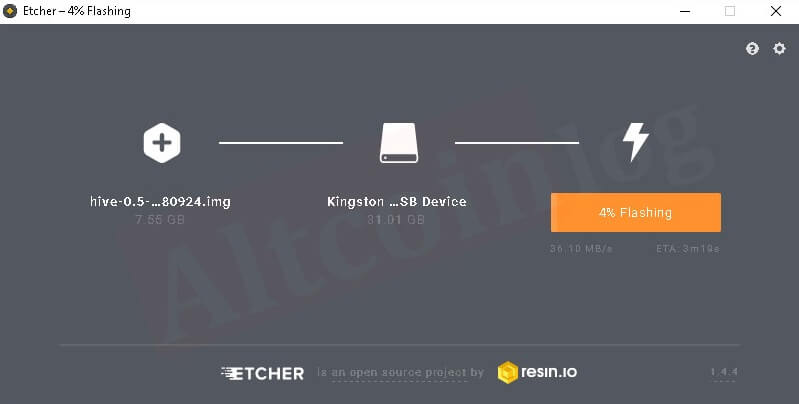
Recording an image will take 10-15 minutes, the process of preparing a flash drive can be tracked in the program window:
After preparing the media, Etcher will check the integrity of the record:
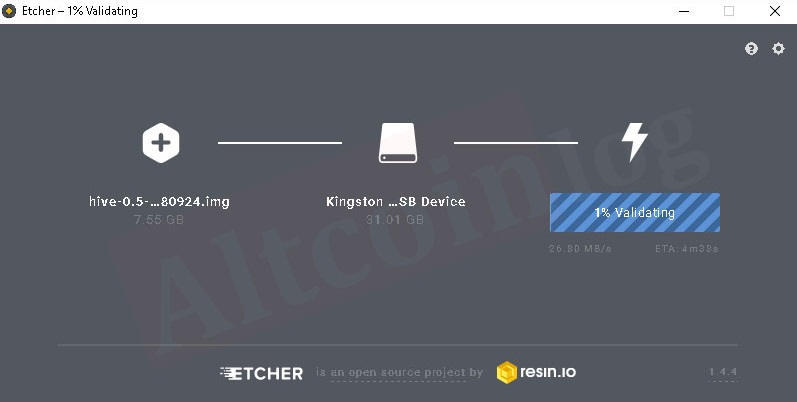
At the end of the verification, the application will display a success message:
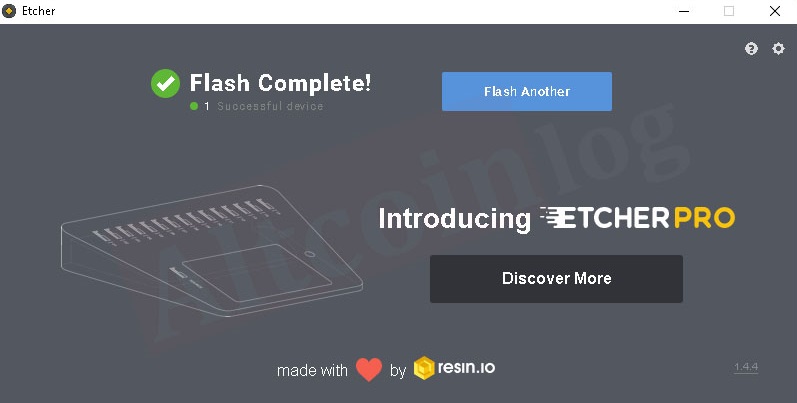
This flash drive can now be inserted into the free port of the assembled rig and run it. Pre in the motherboard BIOS of thiscomputer need to set the option to start from a USB flash drive. After turning on the rig, the system will automatically configure the equipment and ask for the user ID with a password.
To get this data, you need to register on the site hiveos.farm (get an account) and create a worker.
How to register on hiveos.farm, create an account and wallet?
To use OS Hive, you must go through the registration procedure and create a password-protected account and, preferably,two-factor authentication.
To do this follow the linkSign inon https://hiveos.farm/:

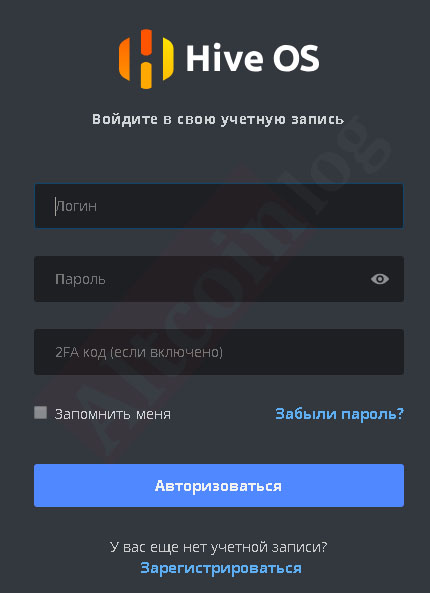
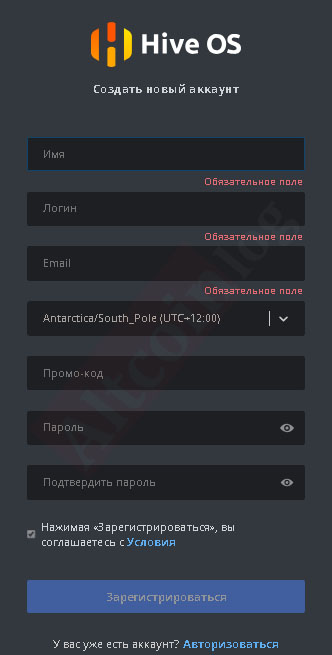
To register Hive, you need to enter information about the name, desired login, email address, select the desired time zone and create an account password.
After registration, a window will appear in which the login, farm status and current balance on the user’s account are displayed (in this case one farm):

To ensure protection against hacking, it is advisable to install two-factor authentication through the “account” menu, where you needmove the corresponding slider to the right:

To create a worker (ID Riga) click on the farm field in the main window of your account, after which a window will appear that allows you to:

- create workers– IDs and passwords for each rig;
- track performance statistics;
- create walletscontaining information about the addresses to which the cryptocurrency mined during mining will be transferred;
- create flight sheetsthat contain a configuration for mining, which can be applied in any rig;
- create acceleration profiles for different algorithms and rigs;
- in the activity tab, track actions with your account;
- in the access tab, track actions byauthentication in the account of other users;
- by usingbilling workwith payments for the account (necessary when managing more than three rigs);
- customize your personal account.
If you forgothive os passwordno problem, enter your email address and they will provide you with a recovery token and a link to change your password.
A more serious problem will be the loss of a two-factor authentication code, be sure to save the 2FA connection code on paper or electronic media.
To create a worker in the farm window, click the plus in the white square:

In the drop-down list, select adding a worker:
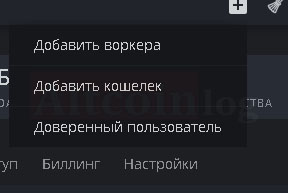
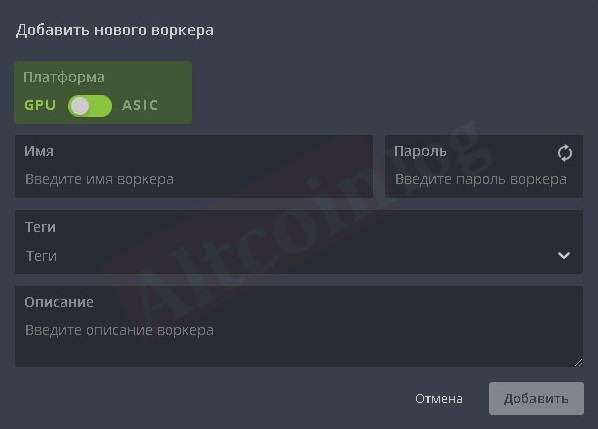
In the pop-up window, a new worker is configured in accordance with the rig to which it will belong:
After this, a window will appear in your account withID Riga,passwordand dataFarm_hash:
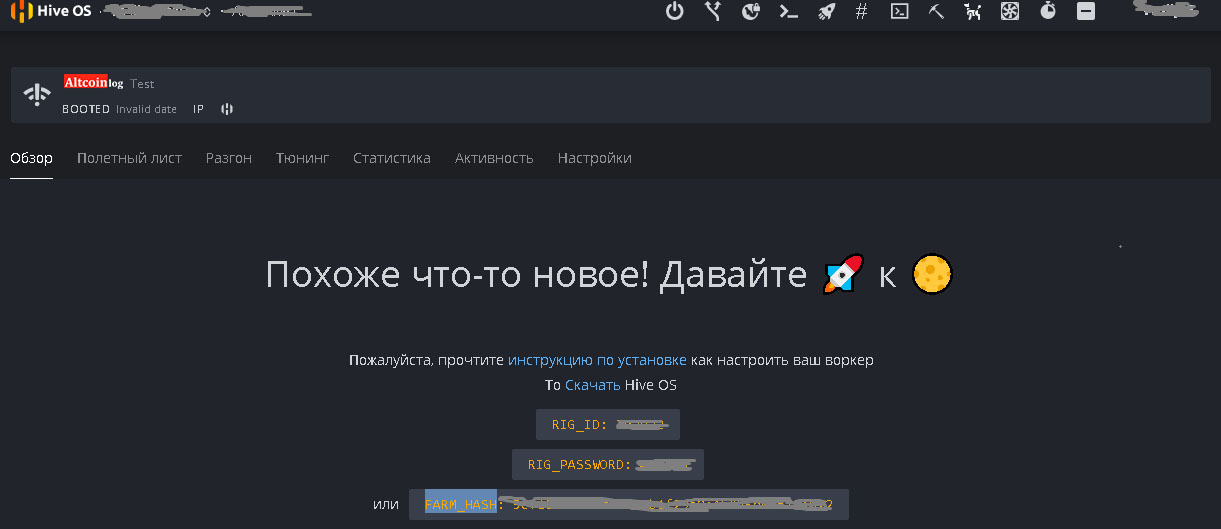
The Riga ID and password must be rewritten; they will be needed to activate it at the first boot.
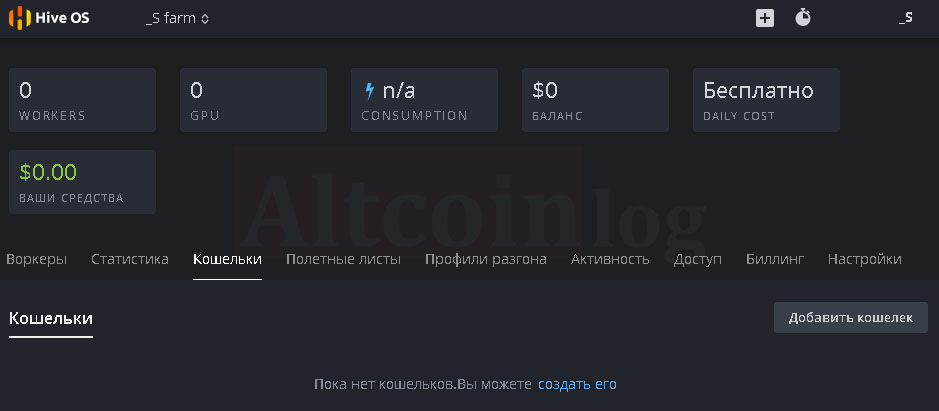
For further work with rig you need to createwallets that will store information about the addresses to which coins will be transferred during mining. To create them, click on the name of the farm (top left of the personal page https://the.hiveos.farm/farms) and select the wallets menu. On the page that opens, the add wallet button is activated:
In the window that appears, select the name of the coin from the drop-down list, enter the corresponding address of your wallet and give it a name (in this case -Monero)
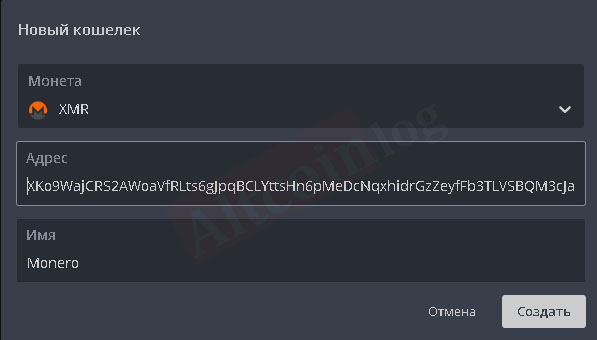
All created wallets can be monitored and, if necessary, edited in the wallet menu of each farm.
To configure mining for a specific pool, the flight list menu is used (they act as BAT files in Windows), in which the following are selected from the drop-down lists:
- mining algorithm (coin):
- desired wallet (address where funds from mining will be transferred);
- selects the pool and the server closest to the geographical location (ping);
- miner program;
- the name of the selected configuration (flight sheet) is set.
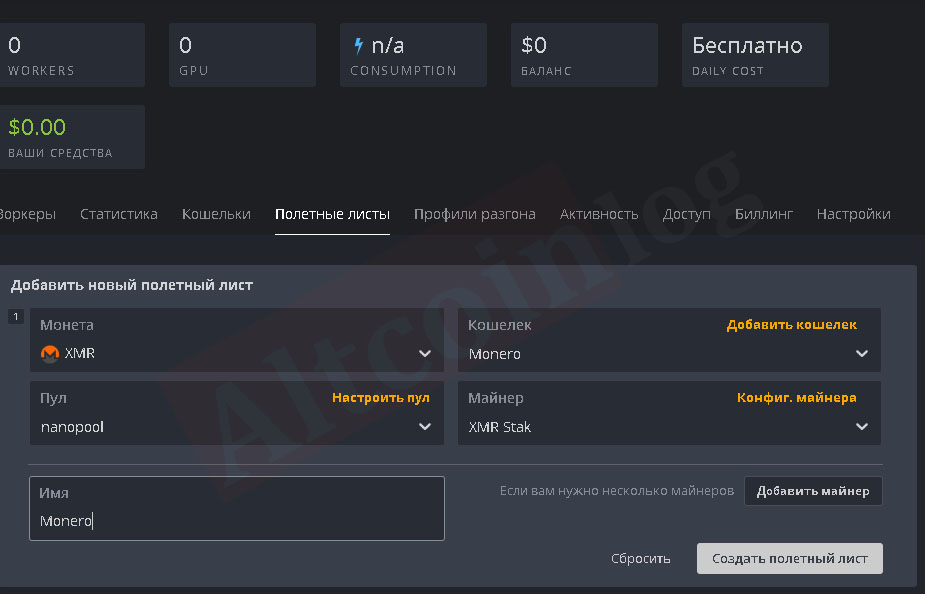
After configuring the configuration, click the button to create a flight sheet in the lower right part of the rig settings window.
How to choose the right miner in Hive OS?
The right choice of a miner implies the use of such an application that will be compatible with the installed equipment and provide the most effective and reliable mining.
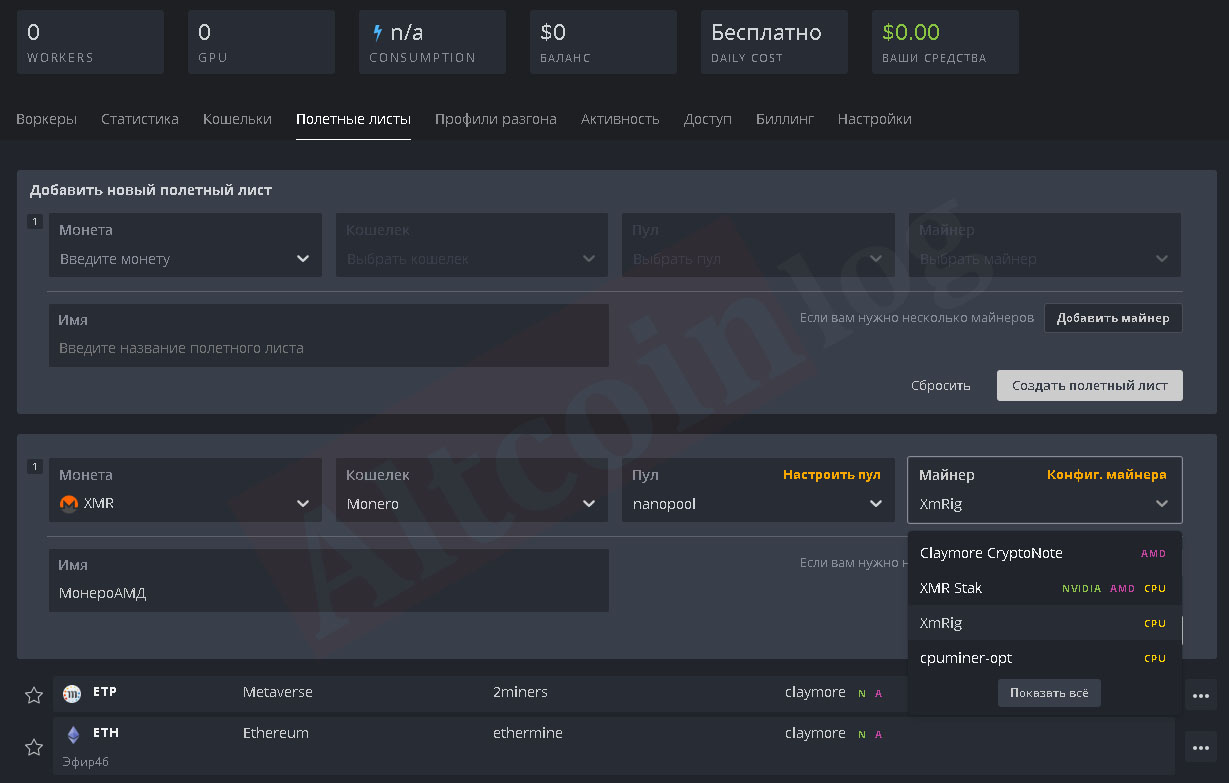
Hive OS has many built-in miner programs that are selected separately for each flight sheet of the farm by selecting them from the drop-down list:
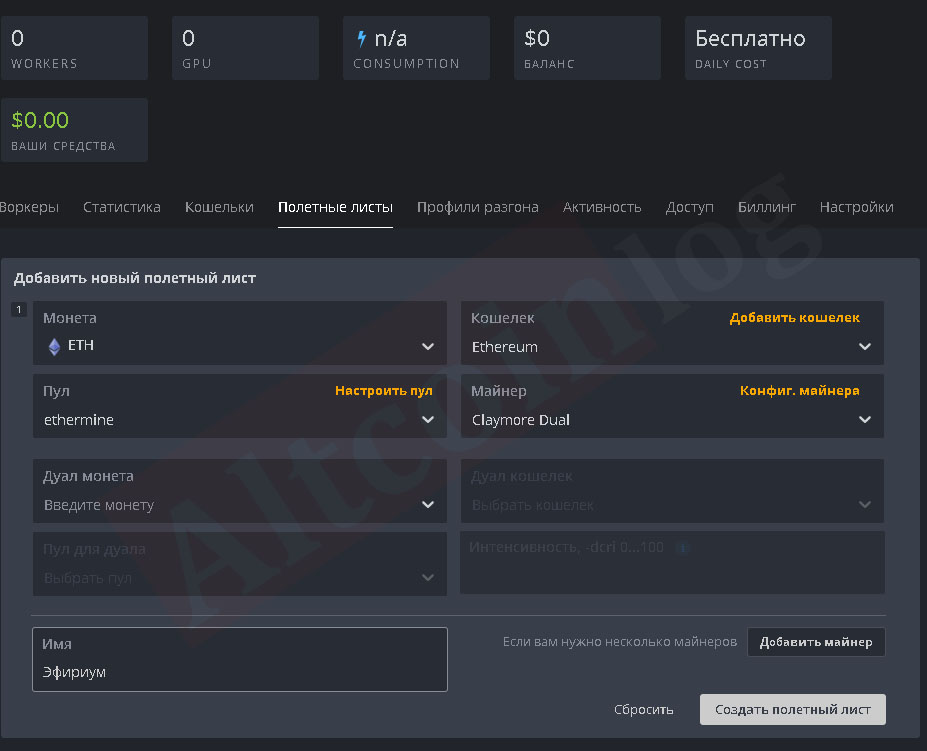
To start mining two currencies inHive OSin the flight sheet with the corresponding wallets must be usedClaymore Dual Ethereum Miner:

If you want to simultaneously use mining on the video card and on the processor, you need to click on the add miner button at the bottom right of the specific flight sheet:
In the fields that open, they specify the configuration for the coin that will be mined on the processor: pool, wallet, miner.
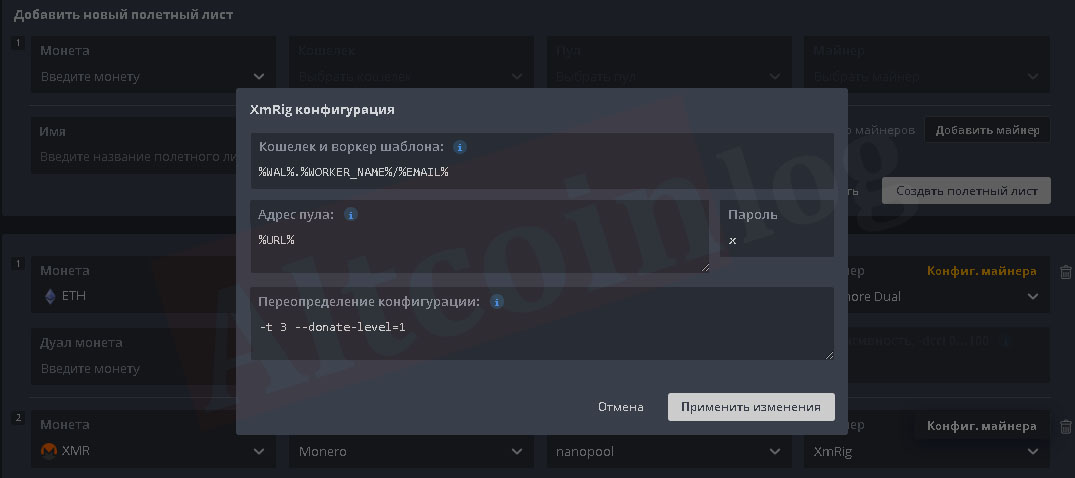
In the miner configuration menu you can set fine overclocking settings, similar to the commands that are used inBat filefor overclocking. To do this, in the corresponding flight sheet, press the button “Miner configuration»And add the necessary commands to the miner configuration override field:
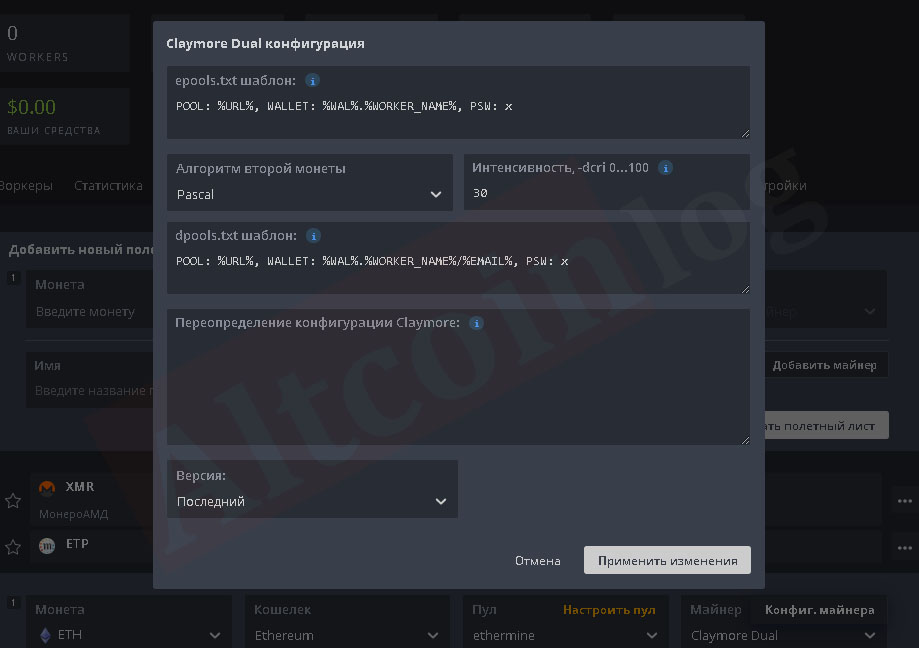
To save the settings, press the button, apply the changes made. After creating the sheet, you can check the correctness of all the settings:
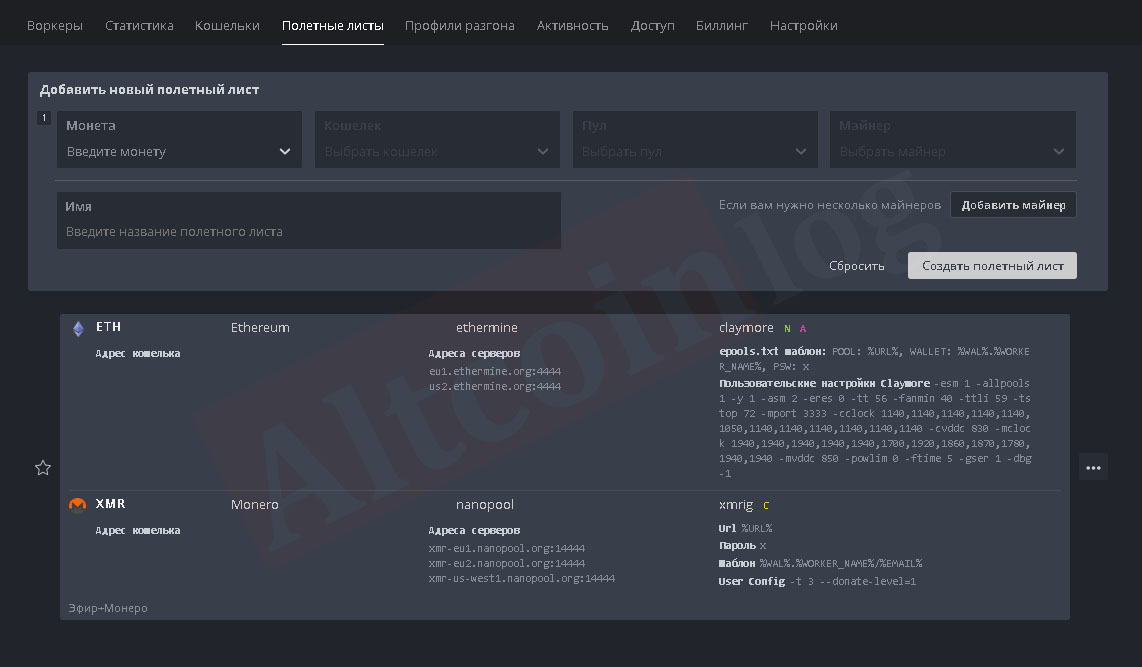
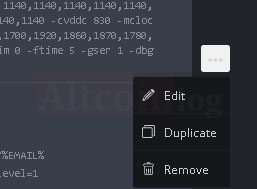
If desired, you can change the configuration of flight sheets by clicking on the ellipsis button on the right side of their window and selecting the lineEdit:
When you click on the miner configuration line, a window appears in which you can edit the existing template and edit the commands for fine tuning the miner in the configuration field.
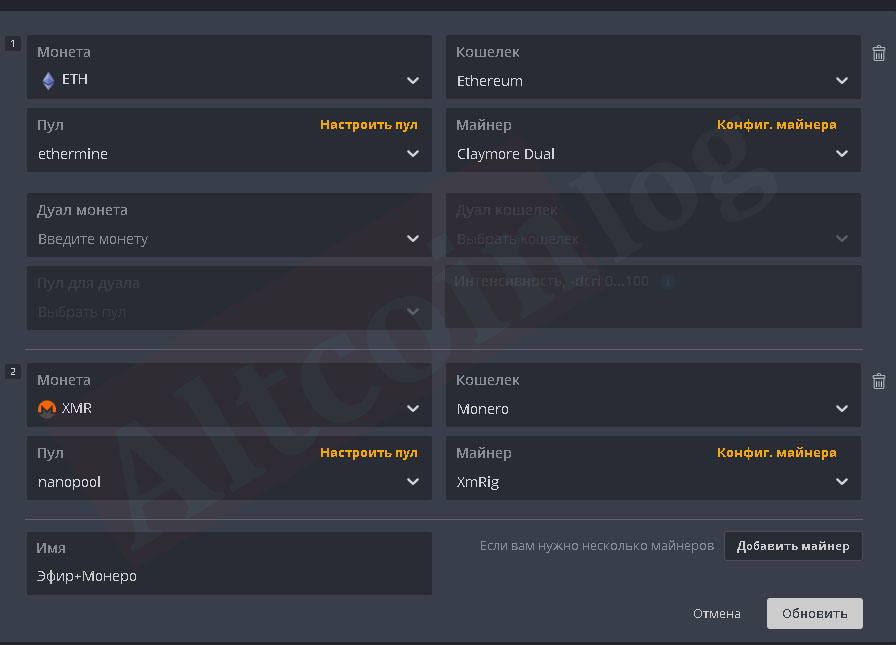
Example of entering overclocking parameters for mining Monero as a second coin on the processor:
After making changes, you need to save the changes using the update button:
For miningMetaverseVHive OScreate a new flight sheet and select a coinEtp:
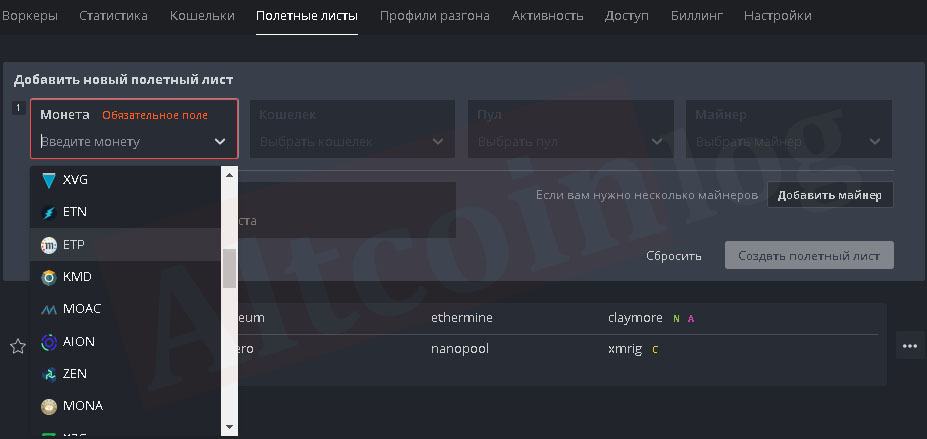
Then configure the wallet configuration in the standard way (enter the address and assign a name), select a mining pool and a miner program.If you want to carry out dual mining, select a second coin and configure the configuration of its wallet and pool. If solo mining is carried out, then select the second coin in the menuDon’t use dual:
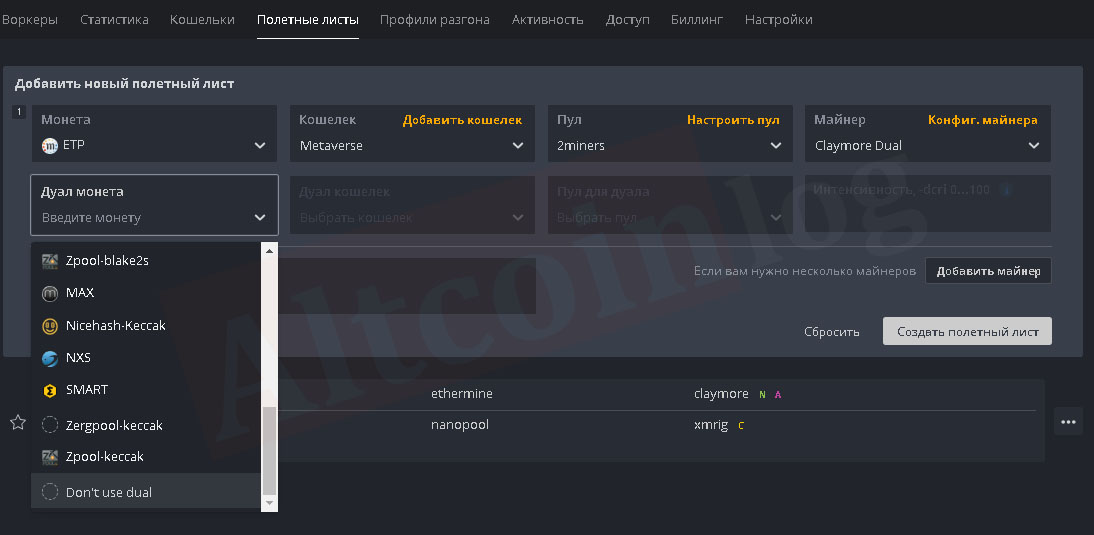
After that, you must remember to click the create flight list button.
For miningLyra2zonHive OSselect the appropriate coin, for example,Zcoin(Xzc) and create the corresponding flight sheet:
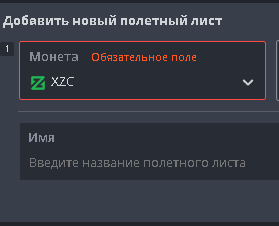
When reconfiguring to another algorithm, production stop is required. There is nothing easier than stopping a rig in a high OS, click on the pickaxe icon on the dashboard and select the “stop miner” option.

Done, you can start the migration. To start / stop from the command window, use the value: miner start / stop, if you need to reboot or stop the system, use
- reboot - reboot;
- sreboot - force restart;
- sreboot shutdown - stop.
How to activate rig and synchronize the launch of mining?
Rig is launched automatically afterdownloading it from a flash drive. After the system’s automatic configuration, a window appears prompting you to add the profile of the rig (worker) in your account, set its name and password, get its ID and enter them into a custom computer (this data can be obtained immediately after creating an account)
The system will prompt you to press enter to use the serverapi.hiveos.farmdefault:
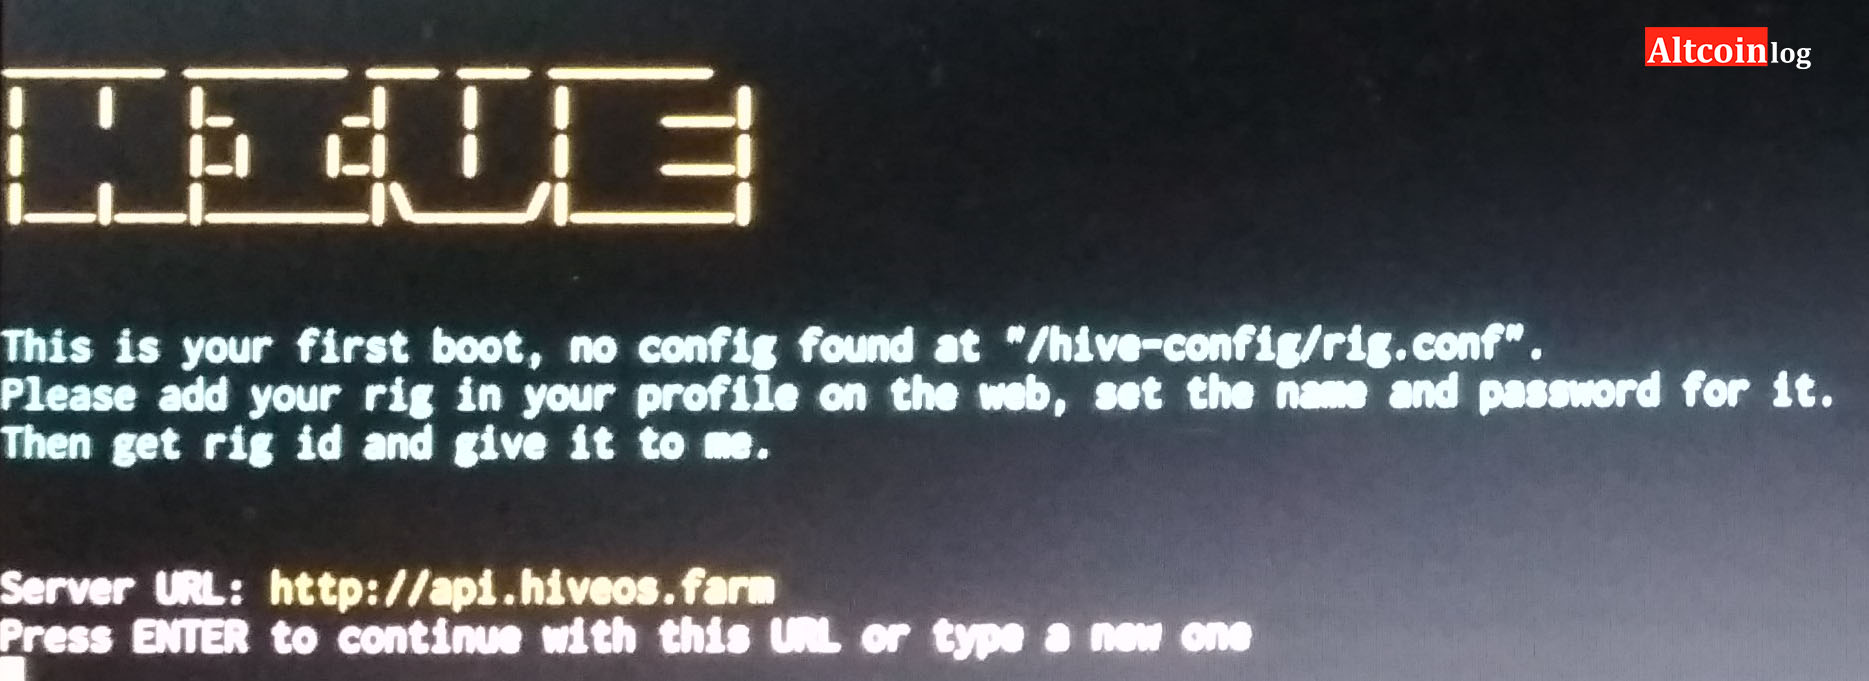
You must press enter and then enterIDAndpassword riga. After this, the activation of the system for mining is completed and with the rigcan work remotely from a personal account window.
Overclocking AMD and NVIDIA Graphics Cards, Major Errors
To overclock video cards in Hive OS, use the menu of overclocking profiles on the farm page (https://the.hiveos.farm/):

By clicking the add profile OS button, many different profiles can be created that are suitable for each coin.
For the convenience of finding the profile that is most suitable for the algorithm for mining a specific coin, you can assign it the corresponding name:

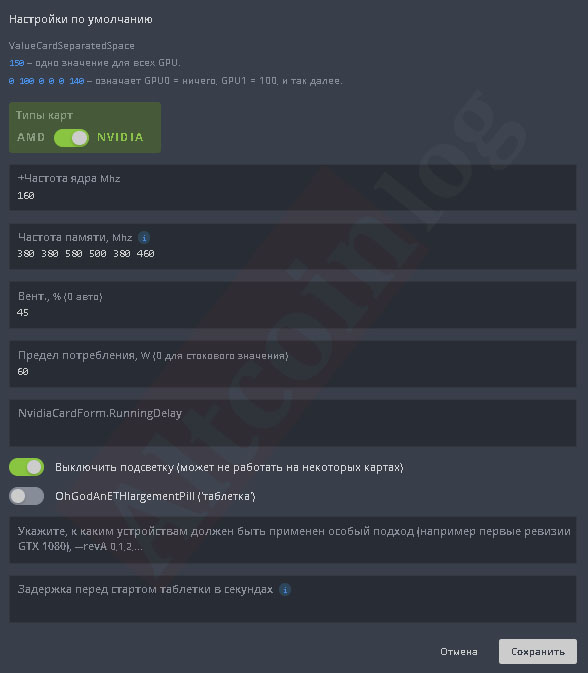
You can enter overclocking parameters by clicking on the pencil icon in the line of the selected profile. A window appears in which you can change for each cardfrequency the cores,of memory,set fan speed,set consumption limit:
For video cardsAMDa template more suitable for these types of cards is used:
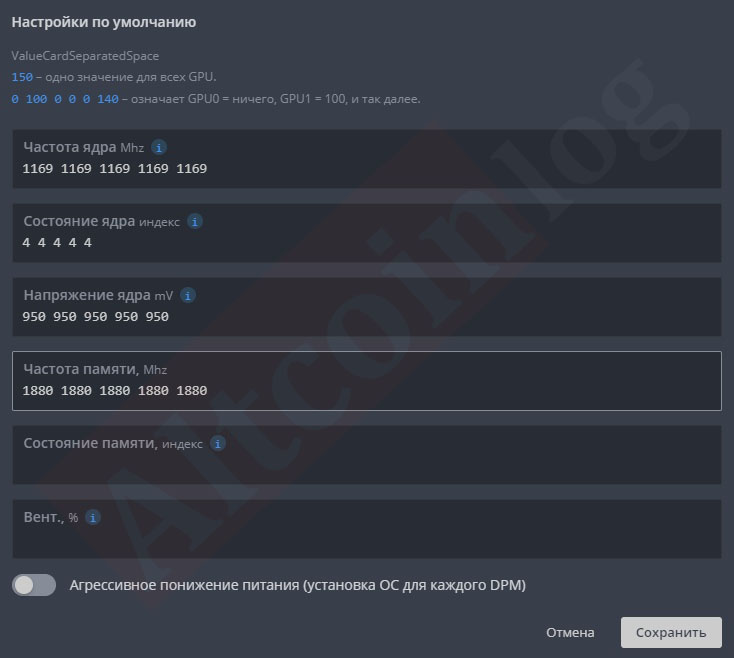
Acceleration parameters are set similarly to work inWindows, but when setting the memory frequency of Nvidia cards, you need to set values twice as large as in Windows. When overclocking AMD cards, energy consumption limits can be changed by selecting core state values.
- For AMD video cards, you can also set the memory status index (1 - maximum savings, 2 - maximum efficiency).
- The main mistakes in overclocking Riga issetting too much acceleration or very low voltage on the core (for AMD video cards). It should be noted that mining on different algorithms requires the use of individual overclocking settings, each of which can be set in its configuration of overclocking parameters.
If you decided to mine with hive os amd cards,sometimes there are problems at startup and in the production process. Most often, they are associated with custom BIOS graphics processors, undervolting and the presence of video cards of various models in one assembly.
Sometimes, hive os errors during the mining process occur due to incorrect operation of farm components (motherboard, risers).
But in general, according to the statistics of the developers, the number of red and green ones using the latest hive os update is approximately the same.
How to manage the rig, the main nuances after setting up?
After activation, work with the rig is carried out through the web interface in the user’s personal account on the websiteHive OS. Management is carried out by clicking on the corresponding rigorker. The main control buttons are displayed in the upper part of the worker window:

They allow you to perform the following actions:
- power management:
- manually set network parameters for communication with the rig, including working through a VPN;
- execute Linux commands;
- launch mining;
- work with the console of Riga;
- work with the miner;
- use watchdog;
- control the temperature and fans.
Mining is turned on by pressing the rocket button, after which it will be possible to select the desired flight sheet:
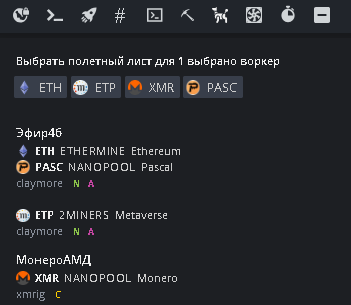
After selecting it, click the apply button, and the rig will begin mining in accordance with the specified configuration:
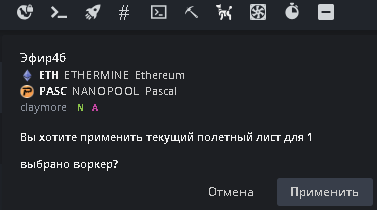
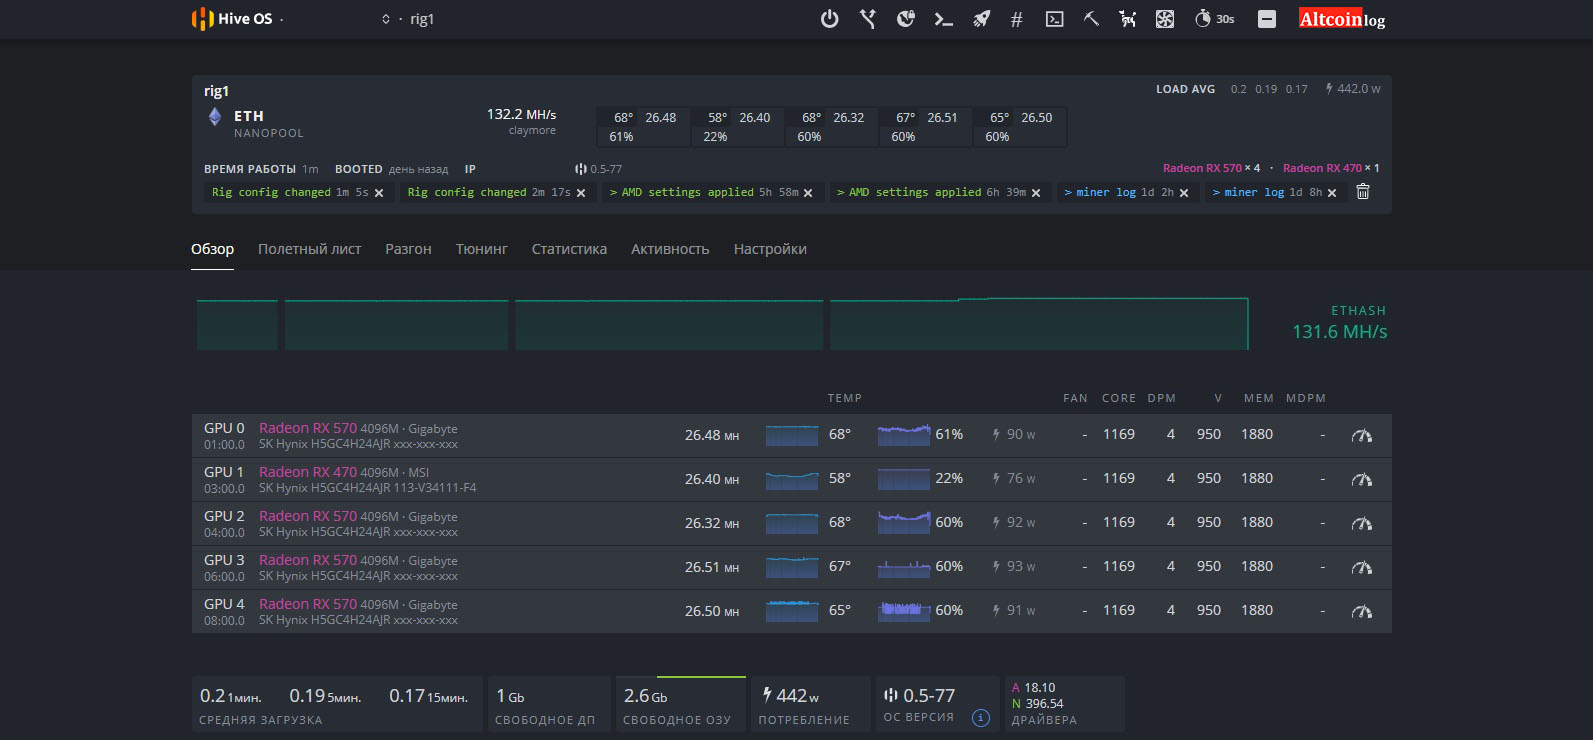
Information on its status will be displayed in the Riga menu, including information about each video card, their temperatures, hashrate, stability, and other important parameters:
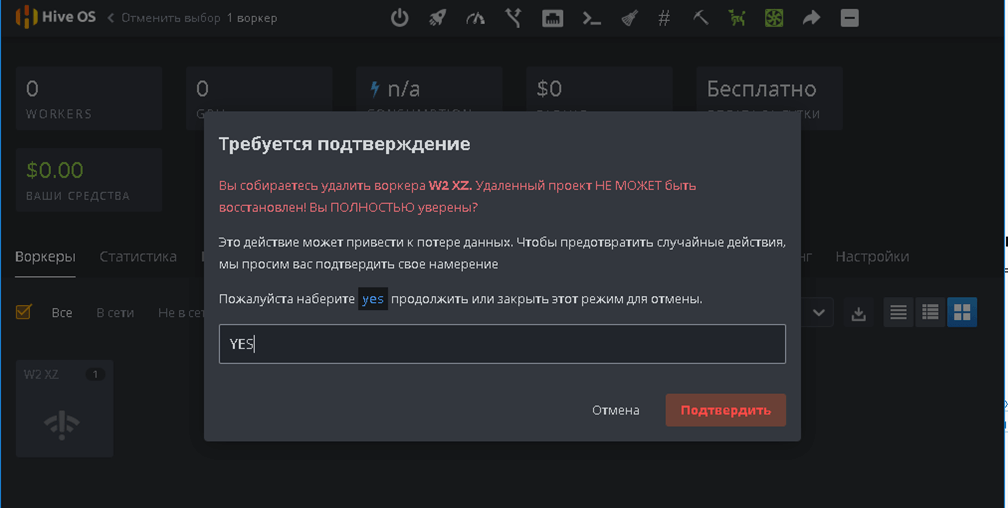
If you have upgraded your equipment but notDo you know how to remove a worker on Hive OS, or for some reason you are not satisfied with working in the hive, go to your account. Double-click on the farm name to open the worker settings. The miner removal button is in the right corner next to the farm name.

The system will ask you to confirm the seriousness of your intentions, type yes and press confirm.
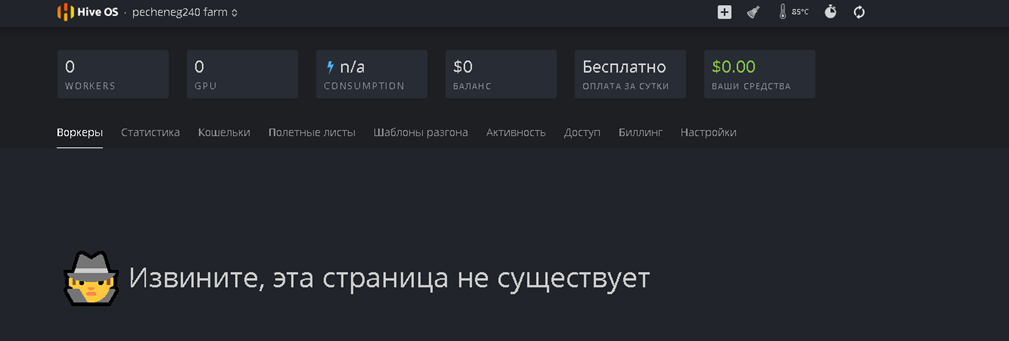
Done worker deleted, you can create a new oneequipment configuration. To delete the farm completely, go to the advanced settings, the “Delete farm” button is located at the bottom, the process is similar to deleting a worker.
Please note that after deleting the farm, all data about the settings of the video cards, flight lists and wallets of the coins you have selected will be deleted. We'll have to re-create everything.
To configure hive os wifi, you must enterwifi command and register ssid and pass to connect to the router. In case of problems, open the USB flash drive via Windows and find the configuration file to enter the name and password of the wireless network. But the cable connection is still more reliable, mining on Windows or hive os wifi is not a good idea.
Conclusion, the main pros and cons of the platform
Using Haif OS for mining provides the following benefits:
- high-quality Russian-language, intuitive interface of your personal account;
- rational use of computer resources with proper configuration of miners;
- quick installation and start of the system due to the lack of unnecessary programs and services in the startup;
- significantly reduced the amount of initial work on installing the system and configuring the rig;
- convenient remote monitoring and control of the operation of the rig after its launch;
- OS supports a large number of hardware,including ASIC, and without the need for additional installation of drivers and updates, most of the necessary miners for video cards and processors, as well as auxiliary utilities, including dogs, are built into it;
- there is no need to use a separate drive, just one 8GB USB flash is enough
- easier setup for mining than using other Linux distributions;
- there is built-in chat support in Telegram.
Using Hive OS for mining has several disadvantages, including:
- Using the Hive OS is free if you use up to three rigs inclusive. For each next rig you need to pay 3 dollars per month;
- rigs are managed through third parties, which increases the risk of hacking;
- for the family of Windows operating systems, much more various programs and utilities for mining are released, which allows to achieve high mining performance;
- when using Hive OS, there is a danger of hacking due to exploitation of the vulnerabilities that it contains;
- some hardware configurations are not supported;
- for Nvidia video cards with regular means it is impossible to fully control the voltage on the core, it is possible to change the power limit (in Windows you can control the voltage using nvidiainspector).
Nevertheless, judging by the reviews on mining forums, almost all prospectors are satisfied with the work on hive os nvidia gpu devices. Farms are easy to start and do not cause much trouble.
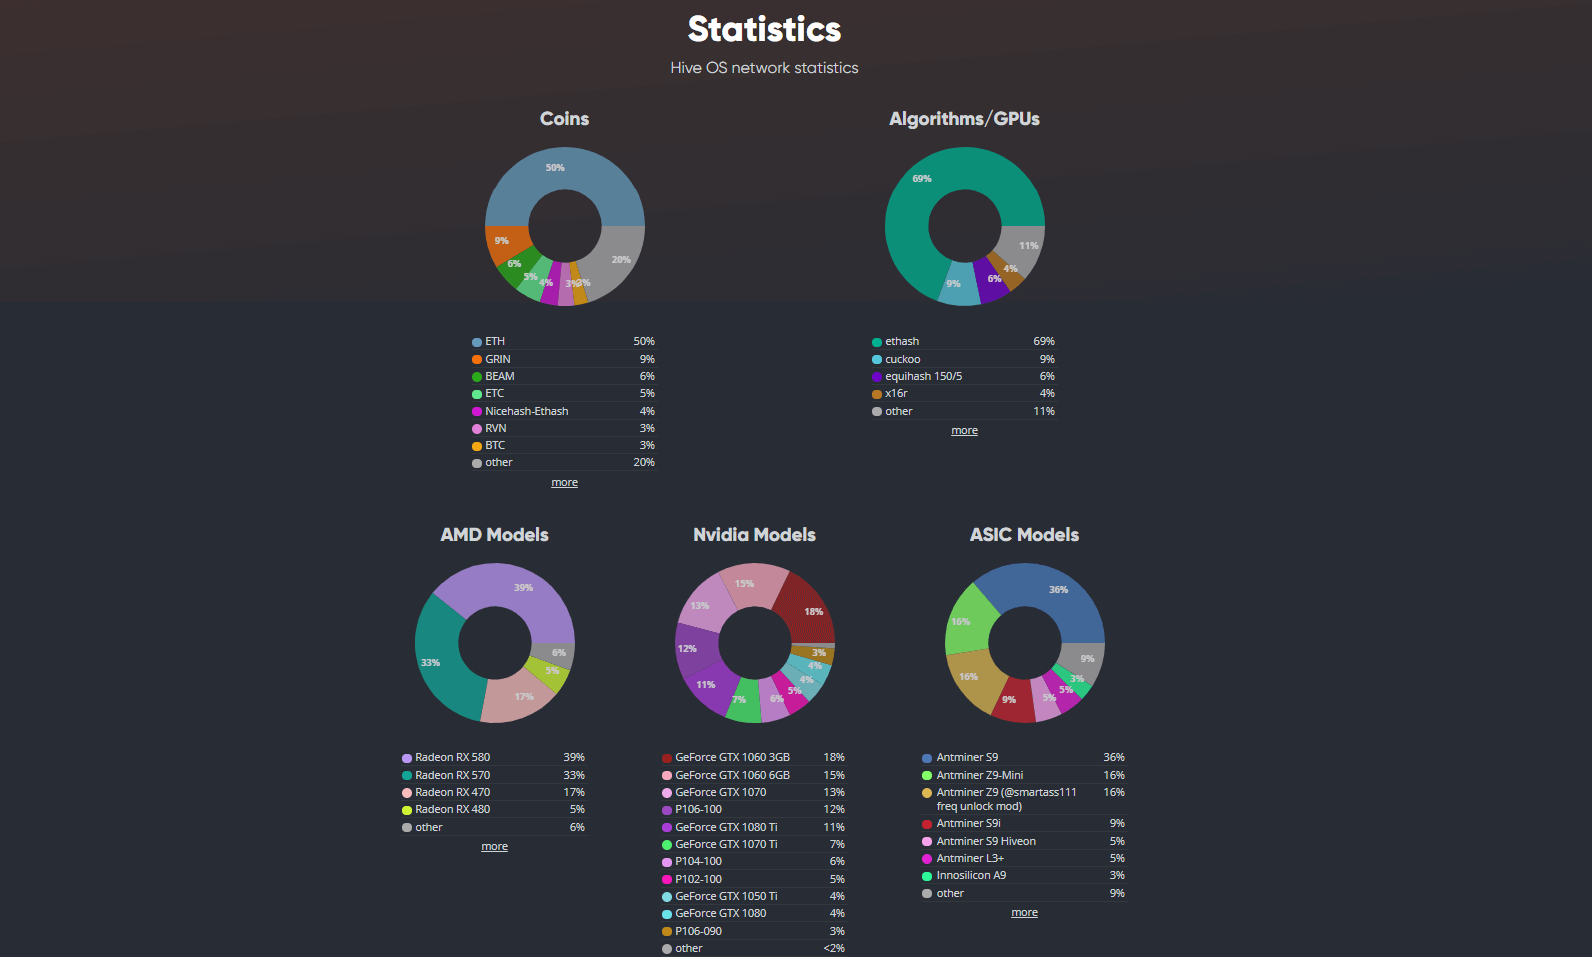
Despite the fact that OS Linux is considered a paid operating system, most prospectors can work in the hive absolutely for nothing.
Almost everyone uses Hive OSusers are only positive emotions due to the convenience and a large number of useful features. All these functions are successfully implemented in Windows of various generations. Based on this, the choice of an operating system for rigs is a matter of taste and preference of each miner.
</p>


